5 things you can do in Abstract Branches that you didn't realize
Design Advocate Andrea Burton shares a few of her favorite ways to streamline your design workflow

As a Design Advocate, one of my favorite things is helping our customers discover new ways to use Abstract Branches to streamline their design workflow. You’re here reading our blog, so you might already know a few things about Abstract, but hopefully you’ll walk away from this piece with at least one new idea...or maybe even five.
Use emojis to indicate the status of a branch
We are designers, people. So let’s use the magical world of emojis and have fun with our visual communication. Here at Abstract, we use the following emojis to inform others on the status or the nature of the Branch:

🏝️ Explorations:
With this emoji, you signal to your teammates that you’re veering off the map, on a trip to an unexplored island where any idea is possible.
💅 Polish:
Just a little visual polish underway. No major changes to worry about. Except how good our nails look.
⏸️ Pause:
Oh, do you need to put some fires out and put this project on pause? Cool, noted.
🚧 In Development:
With a nod to the “Under Construction” gif of the Internet’s Geocities days, we too, know how to show when work is being done.
Abstract Tip: With the release of Abstract 78, you can now use emojis in your comments.
Use slices in Sketch to show screen flow
I’ve seen many designers nest smaller Artboards within one large Artboard to show screen flow or relationships between screens. But how do you commit that Artboard into Abstract?
Make a slice!
Using Sketch’s slicing tool, draw a slice around the entire artboard. Or even easier, select the artboard, make it exportable, then click on the slice tool. Save and commit your changes. Boom.
A few things to note:
- The slice needs to live on the same level as an artboard on the Page in Sketch. When making the slice through the Export Settings panel, Sketch will automatically add the layer to the same level as the artboards.
- The slice will import into Abstract Branches as a layer.
Use commits to test out different ideas in the same Artboard

This one will change your life. I promise.
Let’s say you’re exploring a few different designs for the same screen. For instance, you are redesigning the home screen of your app.
In your first design, you decide to use purple and yellow as accent colors for main elements. You save this design and commit. Your Commit message is “Home screen using purple and yellow. ”
In the same artboard, you decide you want to use pink and green. You change the necessary elements and, voila, you have a new color exploration in the same Artboard. You save this design and commit. Your Commit message is “Home screen using pink and green.”
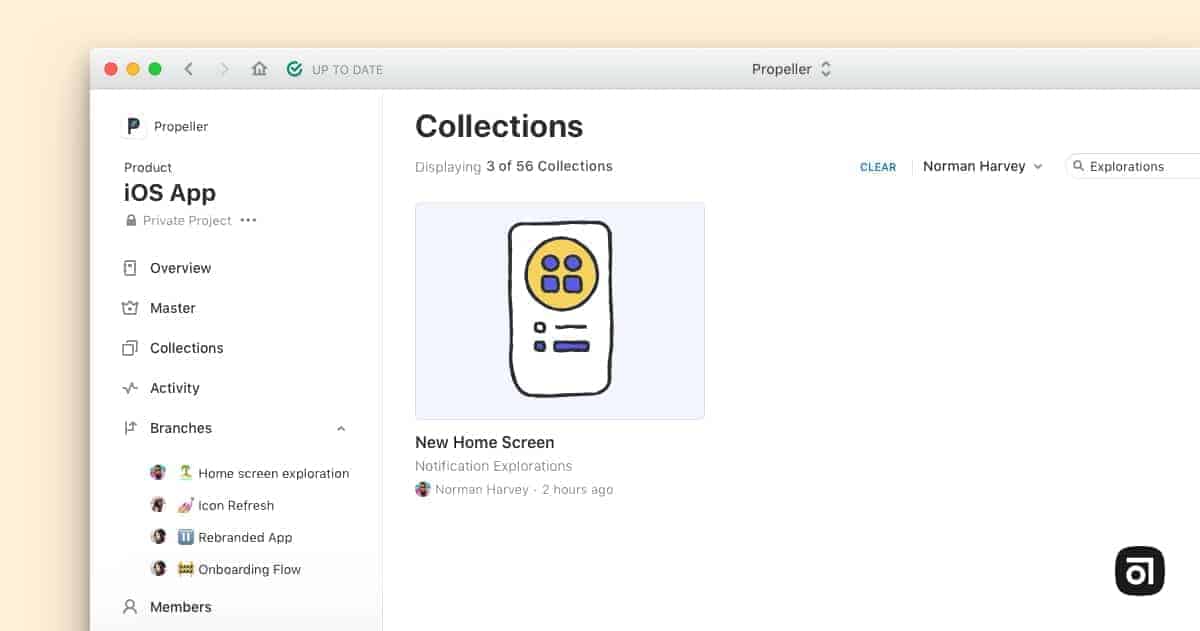
Now, it’s time to add those three artboards into a Collection. First, create the Collection on the Branch Overview screen. You’ll see the Artboards from your latest Commit in this interface. To add artboards from a different Commit, navigate to it, and hover over the Artboard thumbnail. You’ll see a checkbox in the top-right corner of the artboard thumbnail. Check the checkbox and you’ll see the Add Collection button in the top-right of the blue banner. Select your Collection. Once you have added both screens, you can present during design critique that day and get feedback on which design your teammates prefer.
Abstract tip: Check out our YouTube channel to learn more about Collections & Design Reviews in Abstract.
Use child branches to collaborate on one idea

A child branch is a branch made from another branch of main.
Why would anyone make a child branch? Well, lots of reasons.
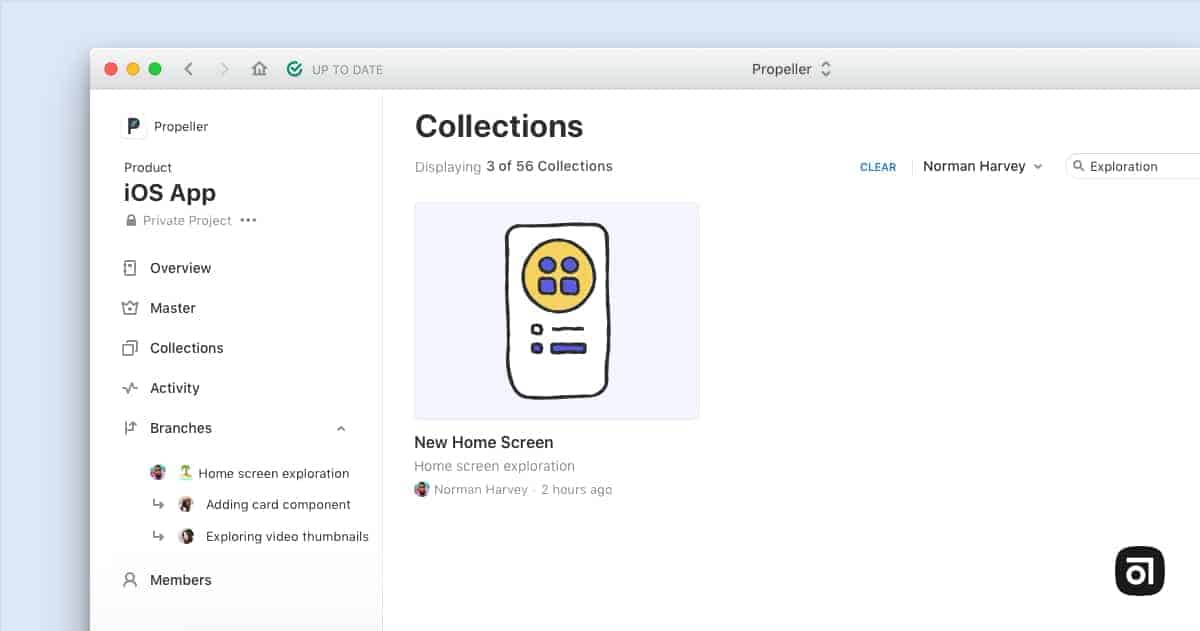
Child Branches allow two people to collaborate on one idea. Let’s say we have two designers, Alex and Riley. Alex has created a Branch called “🏝️ Home screen exploration” to explore a new layout for the home screen of the app. Alex gets into a great conversation with Riley about their designs, and Riley has a great new card component they have been working on that Alex would love to use. Riley creates a Branch off of “ 🏝️Home screen exploration” called “Adding card component to Home screen exploration.”
Any time Alex makes a change to their branch, Riley will get updated and can pull in. When Alex has approved Riley’s card component, Riley can merge into “🏝️Home screen exploration.” If Alex merges their branch into main before Riley merges their branch into Alex’s, then the “Adding card component to Home screen exploration” Branch will go to the top level with the other Branches.
Another way to use child branches is to create a branch for a specific release. Then, all designers working on that branch can create a child branch from that release branch, make any changes, and merge into the parent branch. When the release has been approved and run through QA, the release branch gets merged back into main.
Abstract tip: If a parent Branch is merged into Main before the child Branch is ready, it will become a parent Branch.
Communicate high level project information in your branch or collection description
We offer a summary area on branches and collections where you can include details around the work. We encourage you to include the goals of the solution you are exploring, as well as status and timeline. In these areas, try including links to the user story or issue you are working on in your ticketing system.
It’s also helpful to add links to your prototype, research that supports your design, and any other documentation. These resources provide context to any stakeholders or designers working on other projects.
Abstract tip: These text areas support markdown. Just click on the markdown icon for help with any shortcuts.
For more awesome tips, stay tuned for upcoming webinars (announcements via email and Twitter), where my partner in design advocacy, Alden Spence, shares ways to use Abstract as a newbie, to build and manage your design system, collaborate with stakeholders, and more.


